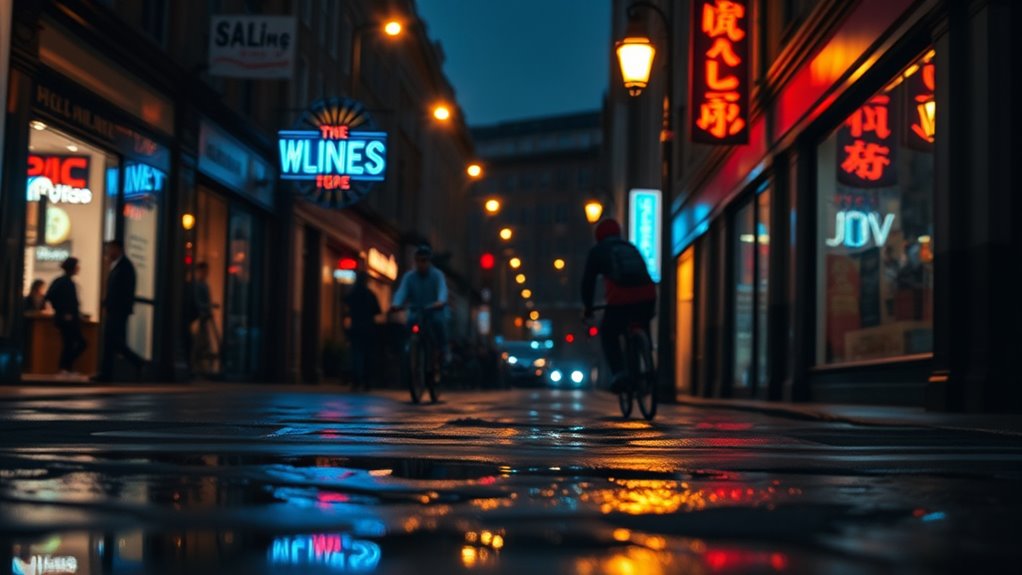

When shooting in low light, stabilize your camera using a tripod or sturdy surface to prevent blur, and brace against a wall if needed. Use a wide aperture to gather more light and set a lower ISO to reduce noise. Switch to manual focus for sharper images, and aim for the brightest possible shutter speed without overexposing. Shooting in RAW gives you flexibility to enhance images later. Keep these tips in mind for better low-light shots and discover more ways to improve your photos.
Key Takeaways
- Use a tripod or stabilize your camera against a sturdy surface to prevent shake during long exposures.
- Set your camera to the widest aperture to maximize light intake and reduce the need for high ISO.
- Increase ISO cautiously to improve brightness while managing potential noise, and consider post-processing noise reduction.
- Switch to manual focus and zoom in live view for precise focusing in dim lighting conditions.
- Shoot in RAW format to allow flexible editing and noise reduction during post-processing.
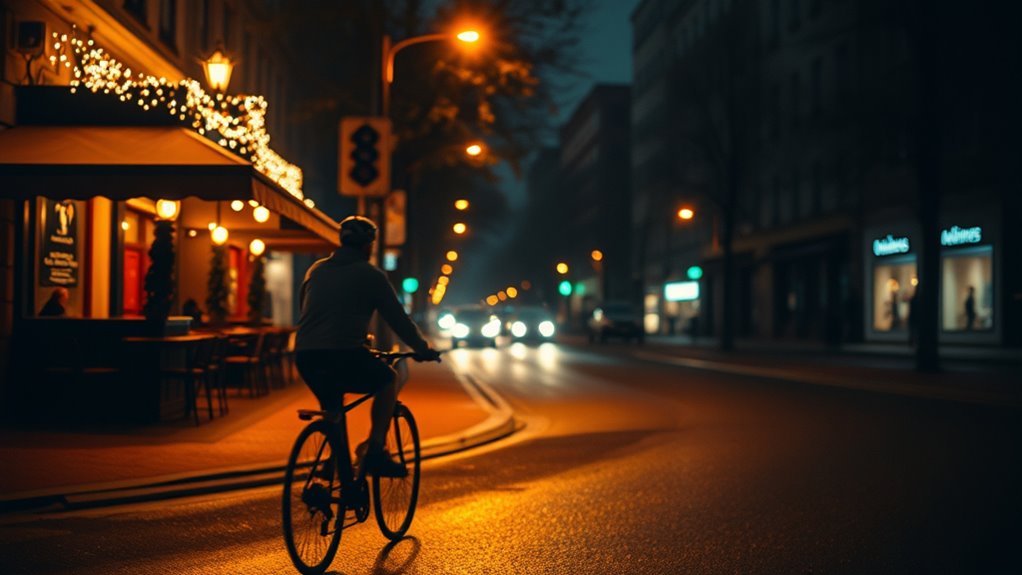
Ever wondered how to capture sharp, well-exposed photos in low light? It’s a common challenge for many photographers, but with the right techniques, you can turn dim conditions into stunning images. First, understand that slow shutter speeds are often necessary in low light, but they can cause motion blur if you’re not careful. To counteract this, stabilize your camera using a tripod or any flat surface nearby. This minimizes shake and ensures sharpness, especially when working with longer exposures. If you don’t have a tripod, try bracing yourself against a wall or sturdy object, and hold your breath while pressing the shutter button gently.
Next, boost your ISO setting. Increasing ISO makes your camera sensor more sensitive to light, allowing you to shoot at faster shutter speeds. However, be cautious—higher ISO can introduce noise or grain into your images. Modern cameras handle high ISO better, so experiment with your device to find the highest setting that still produces clean images. Keep in mind that some noise reduction in post-processing can help smooth out graininess without sacrificing too much detail.
Boost your ISO to capture brighter low-light shots, but watch for noise—find the balance for crisp, clear images.
Aperture is another critical factor. Use the widest possible aperture (smallest f-number) to let in more light. If your lens offers a variable aperture, set it to its maximum. This approach helps you gather as much light as possible, reducing the need for excessively high ISO or long exposures. Be aware that a wide aperture also results in a shallower depth of field, so focus carefully on your subject to keep it sharp.
Finally, consider using manual focus. Autofocus systems often struggle in low light, hunting for focus or locking onto the wrong area. Switch to manual focus to precisely control where your lens focuses, especially on static subjects. Use live view and zoom in on the scene to fine-tune focus for maximum accuracy. Additionally, shooting in RAW format gives you more flexibility during post-processing to correct exposure and reduce noise without degrading image quality. Understanding camera sensor capabilities can also help you better manage noise and exposure in low-light conditions.

Ulanzi TT43 Extendable Photography Light Stand, Adjustable 6.23ft Aluminum Tripod, Reversible Portable Studio Lighting Tripod for Continute Output Lighting/Strobe Light/Webcams/Cameras/Softbox
- Durable Aluminum Construction: Full metal anodized alloy for strength
- Supports Up to 6.6lb: Maximum load capacity of 3kg
- Stable Tripod Base: Spread lever for enhanced stability
As an affiliate, we earn on qualifying purchases.
As an affiliate, we earn on qualifying purchases.
Frequently Asked Questions
How Can I Prevent Camera Shake in Low-Light Conditions?
To prevent camera shake in low-light conditions, you should stabilize your camera by using a tripod or placing it on a steady surface. Additionally, enable image stabilization if your camera or lens has this feature. Use a faster shutter speed to reduce motion blur, and if possible, increase ISO to allow for shorter exposures. Ultimately, hold your camera steady and breathe steadily while taking the shot.
What Lens Is Best for Shooting in Low Light?
You should use a fast lens with a wide maximum aperture, like f/1.4 or f/2.8, to excel in low-light conditions. These lenses let in more light, helping you capture sharper images without needing long exposures. Prime lenses often offer better performance in low light compared to zooms. Choose a lens with image stabilization if possible, and consider using a wider aperture to maximize available light and reduce noise.
How Do I Balance Exposure Without Introducing Noise?
To balance exposure without introducing noise, you should first increase your ISO just enough to get a well-exposed shot, but avoid going too high. Use a wider aperture to let in more light and slow down your shutter speed, but be careful not to overexpose or cause motion blur. Additionally, shoot in RAW so you can fine-tune exposure and noise reduction during post-processing, ensuring clear, balanced images.
Should I Use a Tripod or Handheld for Better Results?
Using a tripod is your best bet for sharp, clear shots in low light. Think of it as giving your camera a steady hand when your own is shaky—like trying to hold a delicate glass in a rocking boat. I once missed a perfect sunset shot because I was handholding, but with a tripod, every detail stayed crisp. It’s an essential tool for capturing steady, noise-free images in dim conditions.
What Camera Settings Optimize Low-Light Photography?
You should set your camera to a wider aperture (like f/2.8 or lower) to let in more light, and increase your ISO to make the sensor more sensitive. Use a slower shutter speed to gather more light, but guarantee it’s fast enough to prevent motion blur unless you’re intentionally going for that effect. Always stabilize your camera with a tripod or surface to avoid shake and get sharp images.

TTArtisan 7.5mm F2.0 APS-C Large Aperture Cameras Lens Fisheye Lens
- Ideal for Documentary Photography: Balances subjects for street and landscape shots
- Wide Angle, Easy to Handle: 81° view angle for comfortable shooting
- Great for Portraits: Captures environmental context effectively
As an affiliate, we earn on qualifying purchases.
As an affiliate, we earn on qualifying purchases.
Conclusion
Now, with these tricks in your toolkit, you can turn dim, shadowy scenes into vibrant stories. Imagine your camera capturing the subtle glow of twilight or the quiet magic of a candlelit room—each shot bursting with clarity and life. Don’t let low light hold you back; instead, embrace it as a blank canvas waiting for your creativity. With practice, you’ll see the darkness transform into a stunning backdrop for your best shots yet.

EMEET S600 4K Webcam for Streaming, Sony 1/2.55'' Sensor, PDAF Autofocus
- 4K Streaming Quality: Crisp 4K at 30FPS or 1080P at 60FPS
- Fast PDAF Autofocus: High-precision, stable focus in all scenes
- Auto Light Adjustment: Balances shadows and highlights in low light
As an affiliate, we earn on qualifying purchases.
As an affiliate, we earn on qualifying purchases.

Canon EOS Rebel T7 DSLR Camera EF-S 18-55mm f/3.5-5.6 is II Lens Kit, 24.1 Megapixel CMOS (APS-C) Sensor, Full HD Videos, Built-in Wi-Fi, Beginner Photographers, Digital Camera, Black
- High-Resolution Sensor: 24.1 Megapixel CMOS (APS-C)
- Wireless Connectivity: Built-in Wi-Fi and NFC
- Autofocus System: 9-Point AF with AI Servo
As an affiliate, we earn on qualifying purchases.
As an affiliate, we earn on qualifying purchases.