
To make festival footage stand out, use color grading to boost emotional impact and visual appeal. Adjust colors, contrast, and lighting to match the mood, whether it’s lively, serene, or nostalgic. Enhance focus by highlighting key moments and creating a cohesive look across scenes. Subtle tweaks can add depth, while creative filters give footage a unique style. Keep experimenting with these techniques to craft compelling visuals that resonate—more tips await if you explore further.
Key Takeaways
- Match the color palette to the scene’s mood, using vibrant hues for energy and muted tones for intimacy.
- Adjust contrast and saturation to enhance the visual dynamism and emotional impact of festival moments.
- Correct lighting inconsistencies by balancing white, shadows, and highlights for a polished look.
- Use color grading to emphasize key subjects and guide viewer focus through contrast and desaturation.
- Incorporate creative effects or stylized filters for a distinctive aesthetic that amplifies viewer engagement.
Color grading festival footage is a powerful way to enhance its emotional impact and visual appeal. When you carefully modify the colors, you guide your viewers’ feelings and focus, transforming raw footage into a compelling story. Whether you want to evoke warmth, excitement, nostalgia, or serenity, color grading helps you craft a mood that aligns perfectly with your festival’s atmosphere. It’s not just about making things look pretty; it’s about reinforcing the story you want to tell and ensuring your audience feels immersed in the experience.
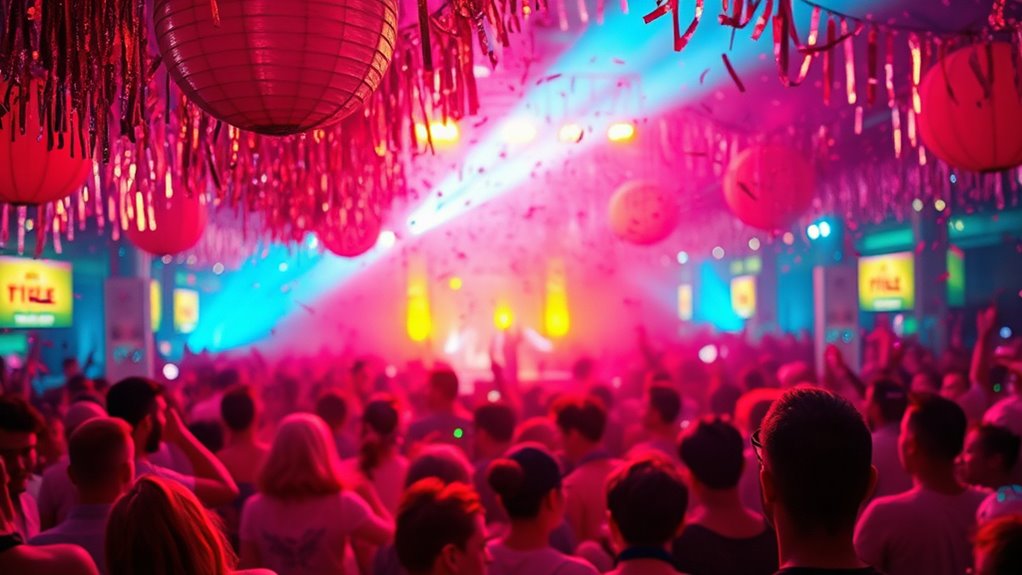
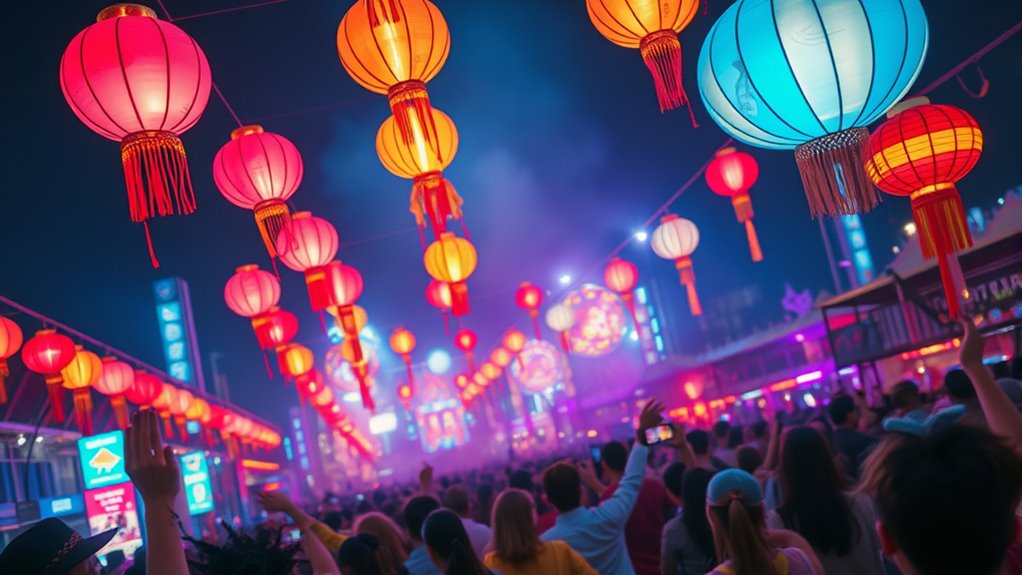
Start by evaluating the footage’s overall tone and the emotions you want to convey. If your festival is lively and energetic, consider boosting saturation and contrast to make colors pop. Bright reds, yellows, and blues can amplify the sense of joy and movement. Conversely, if your footage captures intimate moments or a serene setting, softer tones and muted colors could better evoke feelings of calm or nostalgia. Your goal is to match the color palette with the mood of each scene, creating a cohesive visual narrative.
Next, pay attention to light and color balance. Festival footage can often be uneven due to changing lighting conditions, so use grading tools to correct these discrepancies. If some scenes are too warm or cool, adjust the white balance to achieve consistency. This step ensures your footage looks polished and professional, making it easier for viewers to stay engaged. You might also want to subtly manipulate shadows and highlights to add depth and dimension, making your images more dynamic.
Don’t forget about the importance of color contrast and complementarity. Use color wheels or curves to enhance the distinction between foreground and background, guiding viewers’ eyes to key details. For example, if there’s a vibrant performer against a dull background, boosting the contrast between their costumes and surroundings will make the subject stand out more. Similarly, selectively desaturating certain areas can draw focus and create visual hierarchy, helping your audience navigate the story effortlessly.
Finally, apply creative grading techniques to give your footage a distinctive look. You might experiment with stylized color filters, film emulation, or color grading presets to achieve a unique aesthetic. Remember, subtle adjustments often deliver the most powerful results, so don’t overdo it. By thoughtfully applying these techniques, you can turn ordinary festival footage into an emotionally resonant and visually alluring experience that leaves a lasting impression on your viewers. Incorporating color correction techniques can further enhance the professionalism and coherence of your final product.
Frequently Asked Questions
What Software Tools Are Best for Festival Footage Color Grading?
You should try DaVinci Resolve for festival footage color grading; it offers powerful tools and a free version suitable for most needs. Adobe Premiere Pro with Lumetri Color is also a solid choice if you’re familiar with Adobe products. Final Cut Pro X is excellent for Mac users, providing intuitive controls. All three tools give you precise control over color correction and grading, helping your footage stand out with vibrant, impactful visuals.
How Can I Ensure Color Grading Matches Different Festival Lighting Conditions?
To guarantee your color grading matches different festival lighting conditions, analyze the footage carefully to identify color temperature and lighting inconsistencies. Use scopes like vectorscopes and histograms to guide adjustments precisely. Apply secondary color corrections to balance warm and cool tones, and consider creating multiple correction presets for different lighting scenes. Continuously compare your graded footage with the original to maintain consistency and achieve a natural, cohesive look across all clips.
What Are Common Mistakes to Avoid in Festival Footage Color Grading?
You might think more saturation equals more excitement, but avoid overshooting your color grade. Don’t ignore the lighting conditions—what looks vibrant under daytime sun can turn muddy at night. Steer clear of inconsistent grading that distracts viewers, and resist the urge to overuse filters or preset looks. Remember, subtlety often wins the day; too much flair risks turning your footage into a visual circus.
How Long Does the Color Grading Process Typically Take?
The color grading process usually takes anywhere from a few hours to several days, depending on the footage’s complexity and your desired outcome. If you’re working on a short clip, expect it to be quicker, around 2-4 hours. For longer festival footage with detailed adjustments, set aside 1-3 days to guarantee quality results. Remember, taking your time helps achieve professional, impactful visuals.
Can Color Grading Improve Footage Shot in Low-Light Festival Environments?
Absolutely, color grading can turn a dim festival scene into a vibrant spectacle. Ironically, it’s like adding sunlight to a moonlit night—suddenly, every detail pops. You can enhance contrast, boost colors, and even recover lost details in shadows. So don’t worry if your footage looks gloomy; with skilled grading, your low-light shots will shine just as brightly as the festival itself, mesmerizing your audience with vivid, lively visuals.
Conclusion
Now that you’ve learned how to color grade festival footage for maximum impact, imagine the stunning results you’ll create. But remember, every decision you make can elevate your story—or hold it back. Will you push your skills further, exploring those daring color choices? The festival’s energy is fleeting, and so is the perfect shot. Are you ready to transform your footage into something unforgettable? The next step is yours—what will you reveal?