
To color grade festival footage effectively, start by organizing your clips and evaluating how lighting and camera settings influenced the footage’s look. Make sure your scenes are well-exposed, with proper white balance and low ISO to reduce noise. Use editing software to fine-tune hues, contrast, and saturation, enhancing the mood and vibrancy. Respect the original lighting cues to maintain authenticity, and adjust strategically to amplify emotional impact. Keep exploring for more tips to perfect your festival visuals.
Key Takeaways
- Organize and review your footage, noting lighting conditions and camera settings for consistent grading.
- Adjust basic color parameters like contrast and saturation to establish a cohesive look.
- Use selective grading to enhance mood, emphasize key scenes, or correct lighting inconsistencies.
- Respect original lighting cues to maintain authenticity while enhancing emotional impact through color choices.
- Fine-tune shadows, midtones, and highlights to add depth and vibrancy, ensuring a polished festival visual.
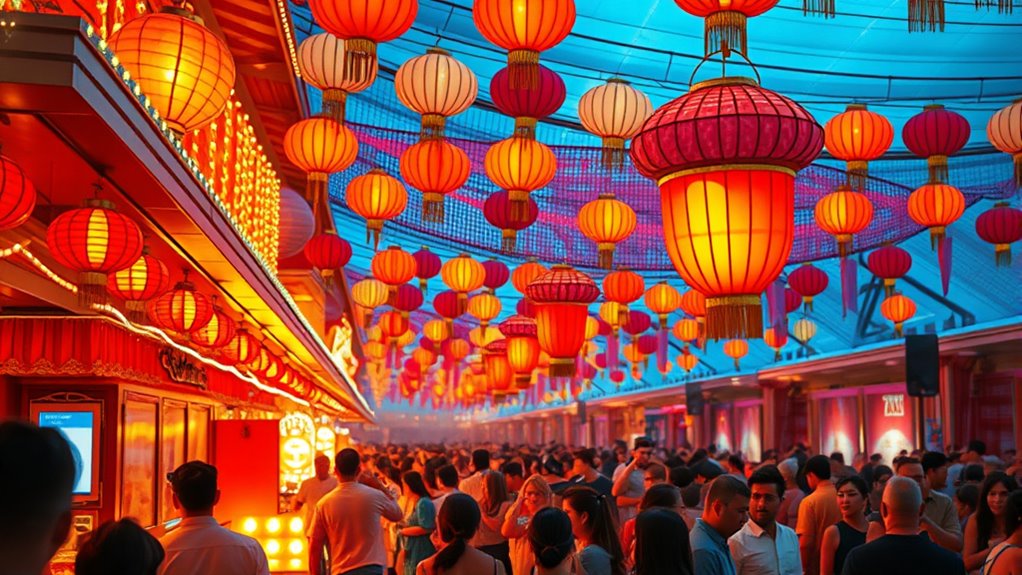
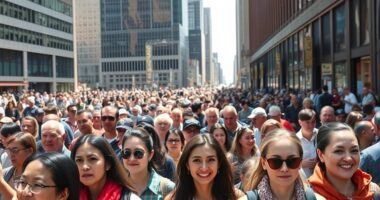
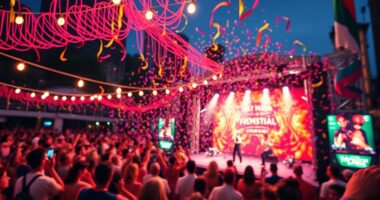
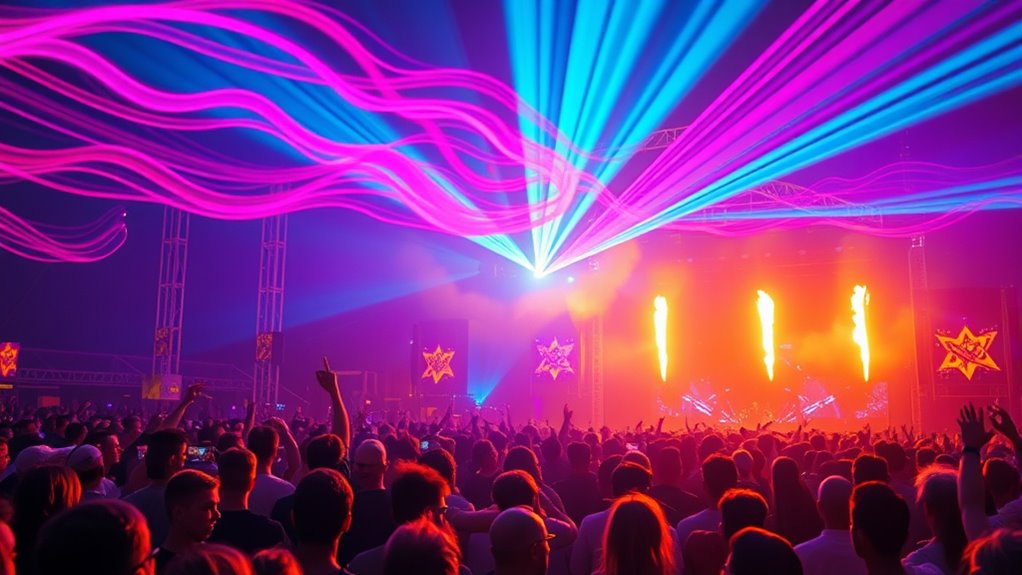
Color grading festival footage transforms raw scenes into vibrant, emotionally impactful visuals that capture the essence of the event. To achieve this, you need to understand how lighting techniques and camera settings influence the footage before the grading process even begins. Proper lighting techniques can bring out the mood and atmosphere, making your footage more receptive to color adjustments. For example, using diffused lighting can soften shadows and create a more natural look, while colored gels can add creative flavor during filming. When shooting, pay attention to your camera settings—ISO, shutter speed, aperture, and white balance—to guarantee the footage has the right foundation for grading. A lower ISO minimizes noise, which is vital for maintaining image quality during color correction. Adjust your aperture to control depth of field, and set your shutter speed based on the frame rate to maintain natural motion blur. White balance is especially important; setting it correctly on set guarantees that colors are accurate and easier to work with later, reducing the amount of correction needed during grading. Additionally, understanding how camera settings and lighting techniques impact the final look allows for more precise adjustments in post-production.
Once you’ve captured your footage with ideal lighting and camera settings, the real work begins. In post-production, you’ll start by organizing your clips and establishing a consistent look. This process benefits from knowing exactly how your camera settings affected the initial footage. If your footage was shot with a warm white balance, you might want to emphasize warm tones during grading to preserve the mood or cool down scenes for a different emotional effect. Lighting conditions during filming influence how much correction you’ll need; well-lit scenes with balanced exposure require less intensive grading, whereas poorly lit scenes demand more adjustments to bring out details and color fidelity.
Color grading software offers tools to fine-tune the hues, contrast, and saturation. Since you already considered lighting techniques and camera settings, you’ll find it easier to create cohesive looks. Adjust the shadows, midtones, and highlights to enhance depth and vibrancy. You can also selectively grade specific areas, drawing viewers’ attention or setting a mood. Remember, a good grade respects the original lighting cues and camera choices, so avoid over-correcting, which can make scenes look unnatural. The goal is to amplify what was captured, not distort it. By understanding how lighting techniques and camera settings shape your footage, you set a solid foundation for achieving stunning, emotionally resonant festival visuals through color grading.
Frequently Asked Questions
What Are the Best Software Options for Festival Footage Color Grading?
You should consider software like DaVinci Resolve, Adobe Premiere Pro, and Final Cut Pro for festival footage color grading. These tools offer advanced color grading tools and support various cinematography techniques, helping you achieve professional results. DaVinci Resolve is especially popular for its powerful color grading capabilities, while Premiere Pro and Final Cut Pro provide seamless integration with editing workflows. Choose based on your familiarity and project needs.
How Do I Match Color Grading Across Different Festival Shots?
They say “a chain is only as strong as its weakest link,” so focus on shot matching to achieve seamless color consistency across festival footage. You should start by setting a reference shot, then use color grading tools like scopes and curves for precise adjustments. Match exposure, contrast, and color tones across all shots, and consider using LUTs or presets for uniformity. This guarantees your footage flows naturally, creating a polished, cohesive look.
What Are Common Mistakes to Avoid During Festival Footage Color Grading?
You should avoid overprocessing your festival footage, as it can make the clips look unnatural and distract viewers. Watch out for inconsistent lighting across shots, which can break the visual flow. Keep your adjustments subtle and consistent, and always compare clips side by side to verify uniformity. By steering clear of these mistakes, you’ll achieve a more polished and cohesive festival video that captures the true atmosphere.
How Can I Maintain the Natural Look of Outdoor Festival Scenes?
To maintain the natural look of outdoor festival scenes, you should start by balancing the exposure and contrast to preserve the scene’s authenticity. Use subtle color corrections to enhance the natural hues without oversaturating. Avoid overly aggressive adjustments, and rely on reference images for guidance. Keep the color temperature consistent with the actual lighting to guarantee the outdoor scenes look true to life, helping viewers feel immersed in the festival atmosphere.
What Are Quick Tips for Improving Color Grading Efficiency?
You might think improving efficiency takes longer, but with workflow tips and shortcut techniques, you can speed up your color grading process. Use keyboard shortcuts to quickly access tools, organize your clips with bins, and create preset looks for consistent styles. Auto-matching and node grouping save time, while adjusting scopes helps you make precise corrections swiftly. These strategies keep your workflow smooth, so you spend less time grading and more time perfecting your festival footage.
Conclusion
Now that you know the step-by-step process to color grade festival footage, you’re ready to bring your scenes to life with vibrant, cinematic quality. Remember, the key is to experiment and trust your eye. Will you let your creativity shine through and craft footage that truly captures the festival’s energy? With practice, you’ll find your unique style and make every shot unforgettable. So, are you prepared to turn raw footage into a visual masterpiece?